Home Lab v3 - Part 2: The Build Process
February 12, 2018
I’ve never built a computer before. I figured now is as good a time as any to give it a shot. And why not do three while I’m at it for my new home lab.
Getting Started
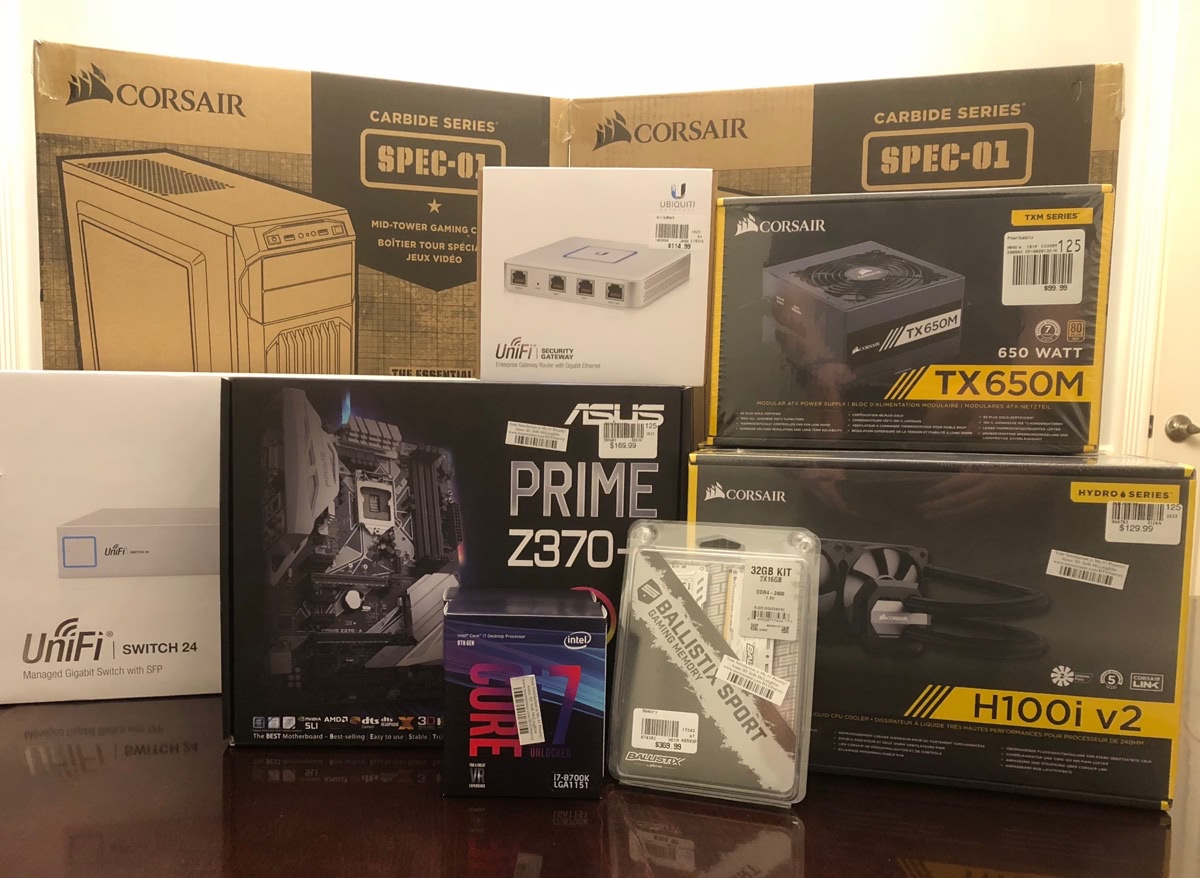
First thing I did was plan out my list of hardware:
Corsair Carbide Spec-01 CaseCorsair Obsidian 750D Airflow Edition Case*- Corsair TX-650M Power Supply
- Intel i7-8700K Processor
Corsair H100i v2 AiO Liquid CoolerCorsair H110i AiO Liquid Cooler*- Asus Z370-A Prime Motherboard
- 32GB (2x16) Crucial Ballistix DDR-4 2400
- 250GB Samsung 960 Evo NVMe (Hyper-V)
- 480GB Crucial MX300 SATA SSD (VMs)
- 4TB HGST 7200RPM NAS HDD (Bulk Data Storage)
*Almost all of it worked together–all of the components were compatible, but the liquid cooling radiator didn’t fit the original case.
If you’re curious as to why I chose the hardware I did, see the previous post in the series.
I got everything from Micro Center–they had all of the components that I wanted in stock and had solid pricing (most of which was cheaper than online retailers).
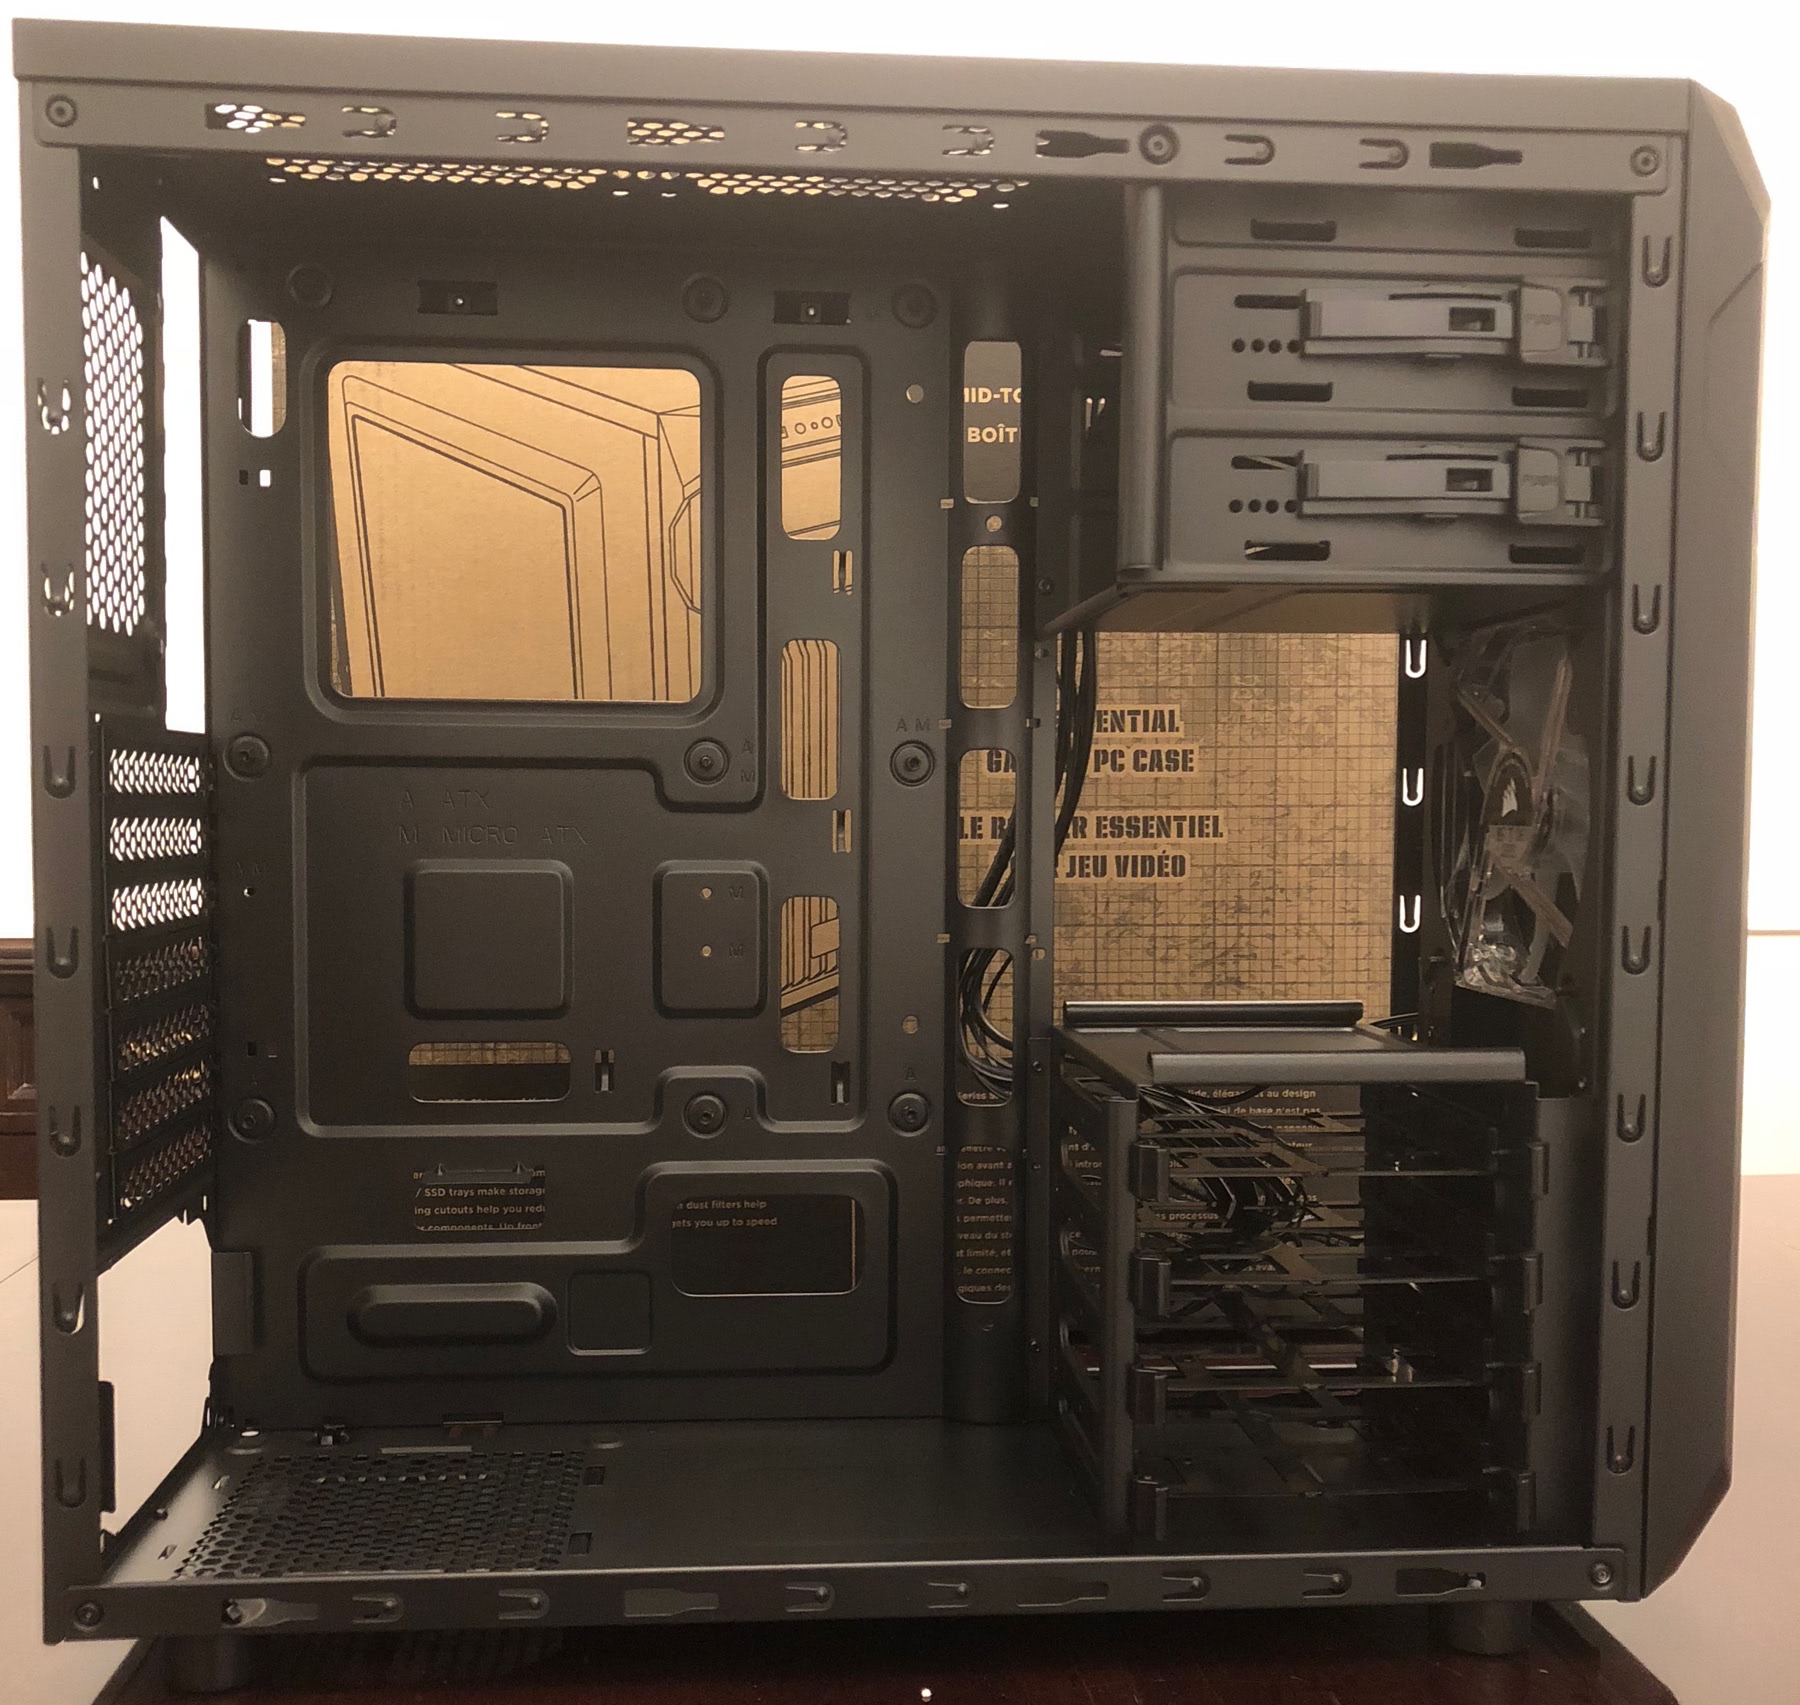
The first thing I did was unpack the case. I started with a Corsair Carbide Spec-01 case, but realized that while the fan screw pattern is there for a 120x240mm radiator, the motherboard wouldn’t clear the H100i radiator that I got. While it does seem like a nice case for the price, without being able to fit my components, I’d have to choose something else.
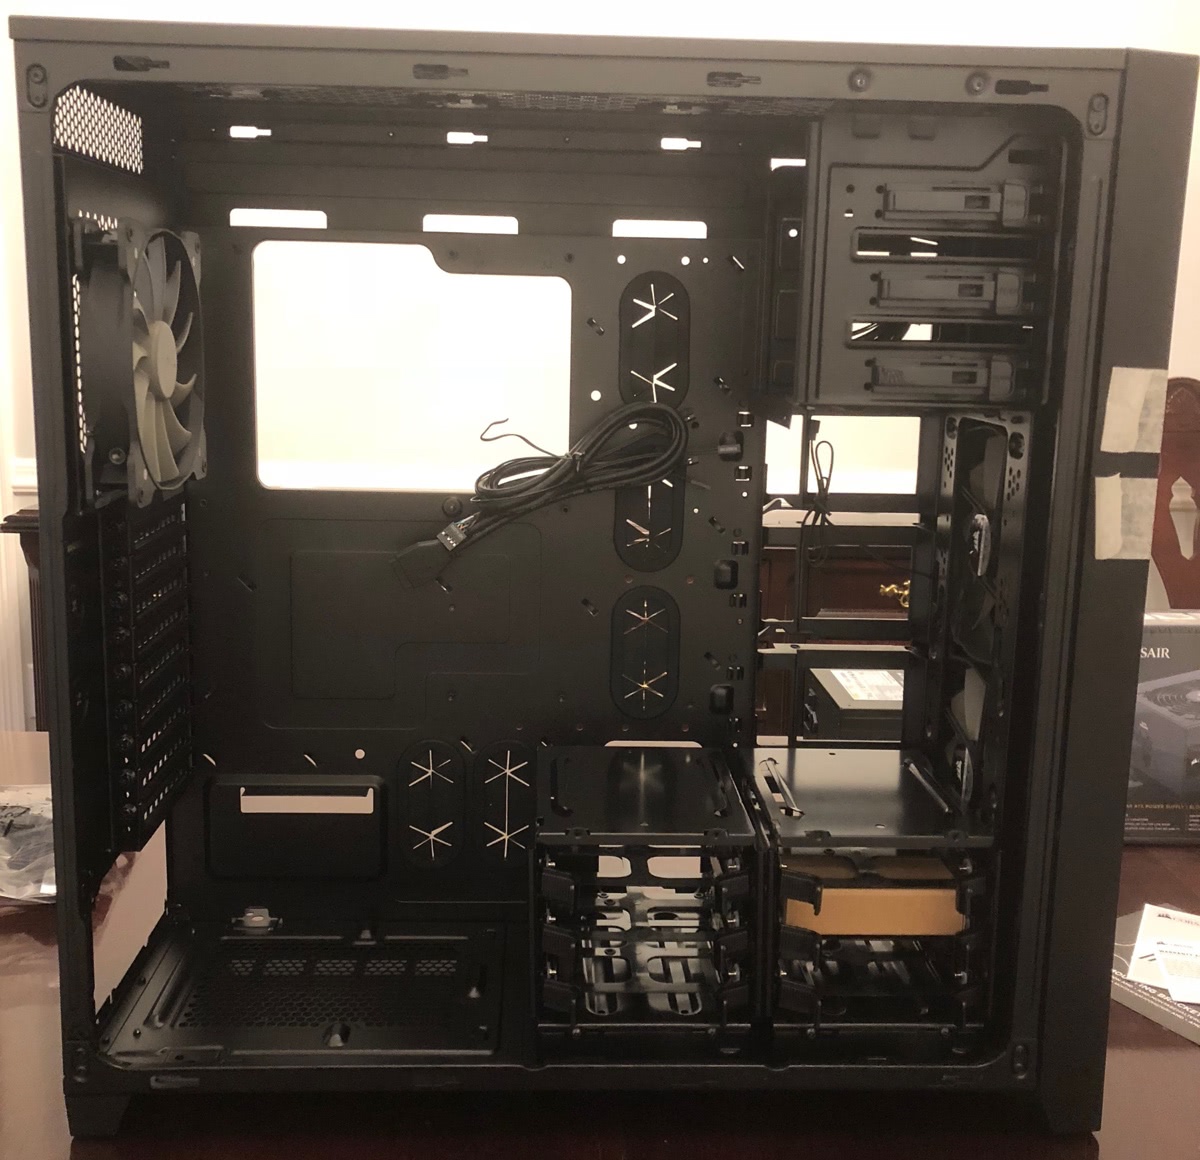
I swapped the Carbide Spec-01 case for an Obsidian 750D Airflow Edition. The new case is significantly larger, and it also offers a lot of options for mounting components–lots of room for 140mm fans, lots of hard drives and SSDs, and plenty of room for cable management behind the motherboard. Because I got a bigger case, I was then able to fit a 140x280mm radiator, so I bumped that up as well.
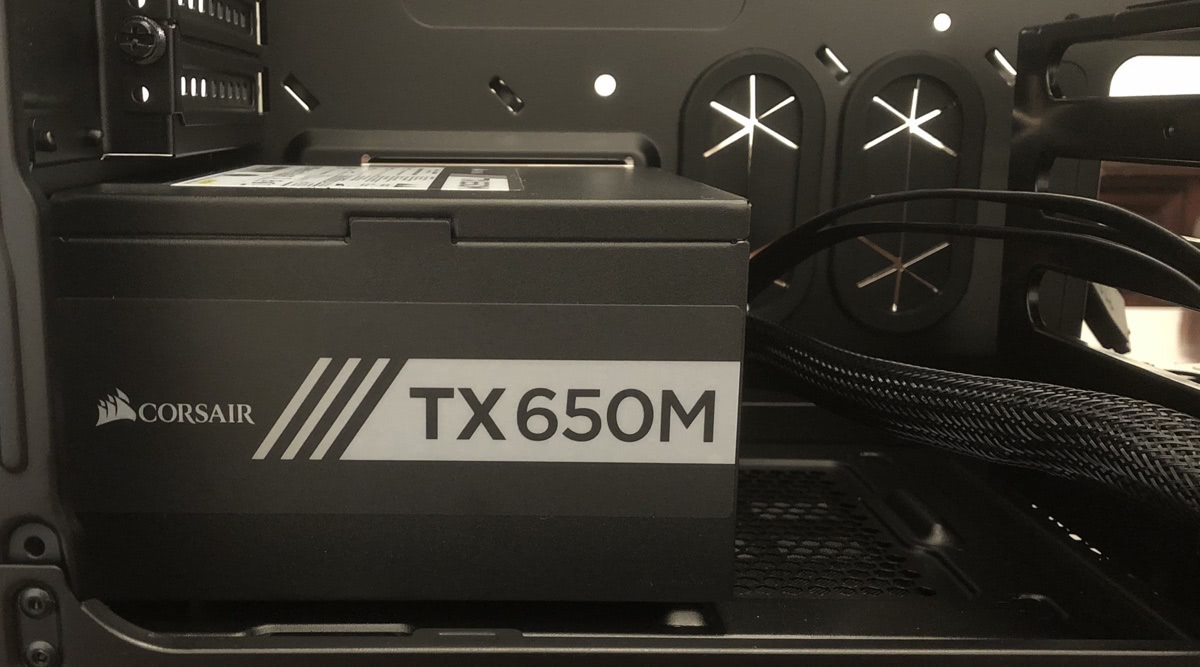
Once unpacked, I installed the power supply. I made sure to get a modular power supply. Even though there’s lots of room to hide cables in the 750D case, having fewer cables to hide is always a plus. In the effort of trying to keep this setup as efficient as possible, I went with the 80+ Gold rated TX series power supplies. The 750D has an intake on the bottom for the power supply, so the power supply fan is installed on the bottom.
Now that the power supply was installed, the case was ready for the motherboard. To make things a bit easier, I installed the CPU and NVMe on the motherboard prior to installing the motherboard into the case. I waited to install the memory until the motherboard was mounted so that I didn’t have to work around it.
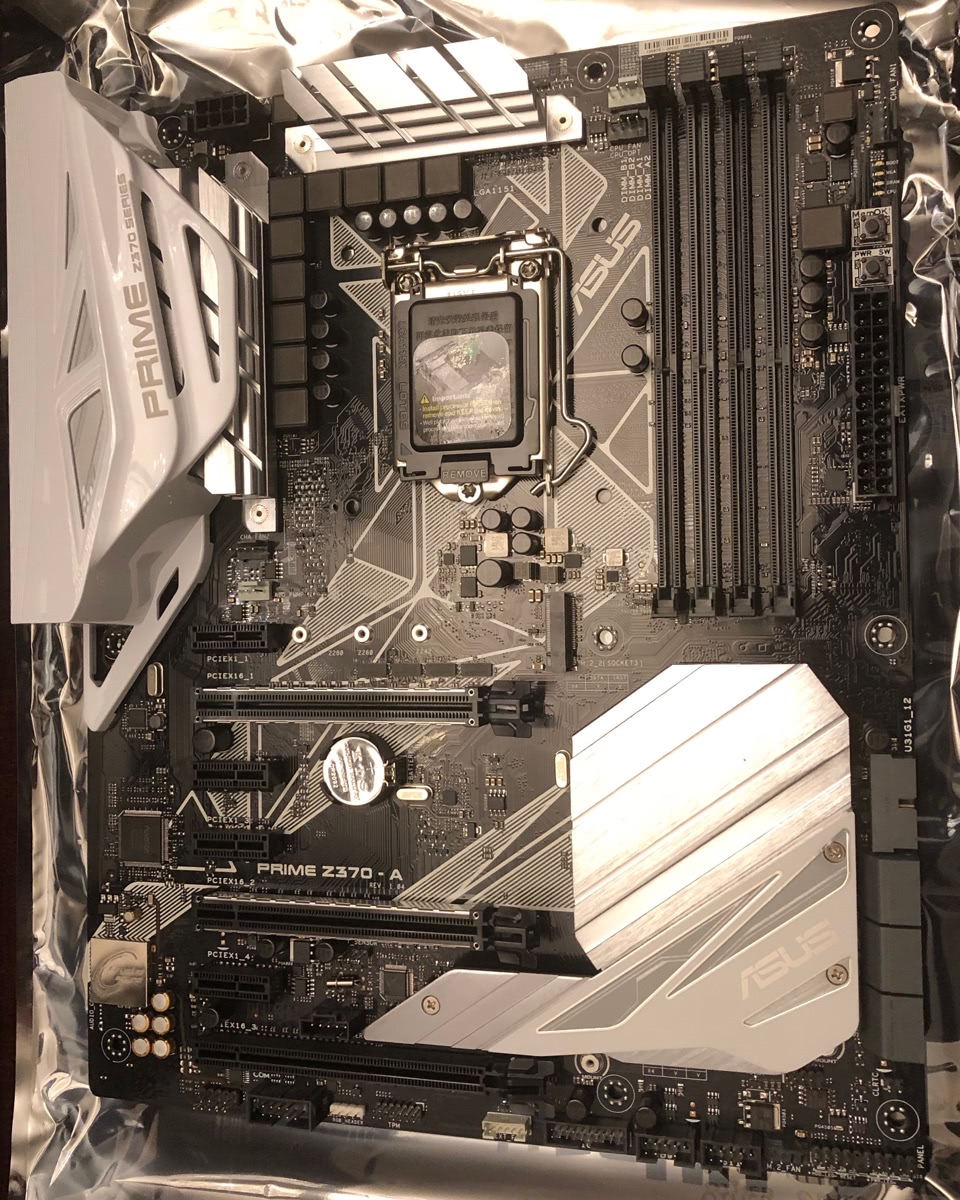
From the unboxing, one of the Asus motherboards had a bent audio connector pin. That was easily bent back into place and wasn’t an issue afterward. Luckily, that was the only issue with any of the components I received.
Here’s the motherboard once unboxed:
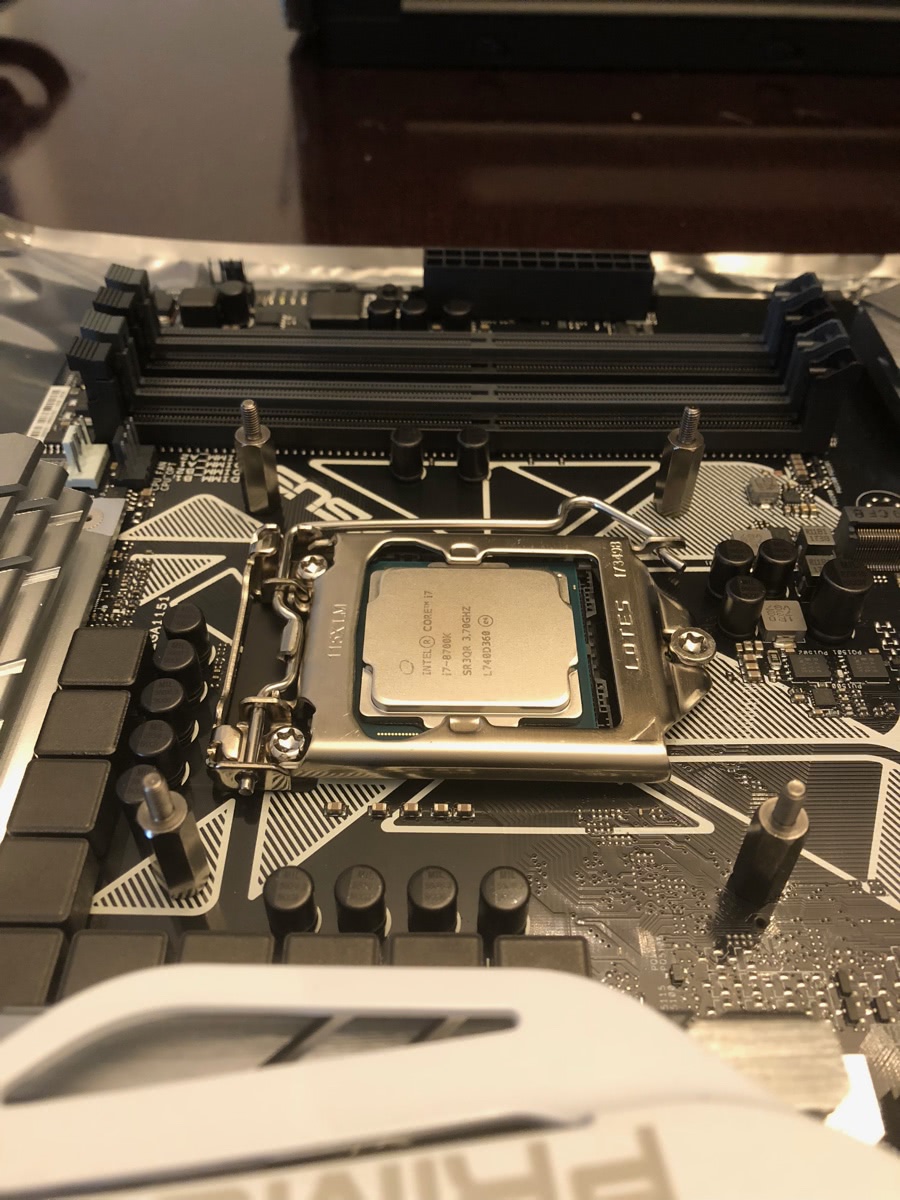
Next task was to swap the plastic socket cover for a CPU. This was dead simple; I just lined up the arrow on the corner of the processor with the mark on the socket, seated the processor, and latched the socket:
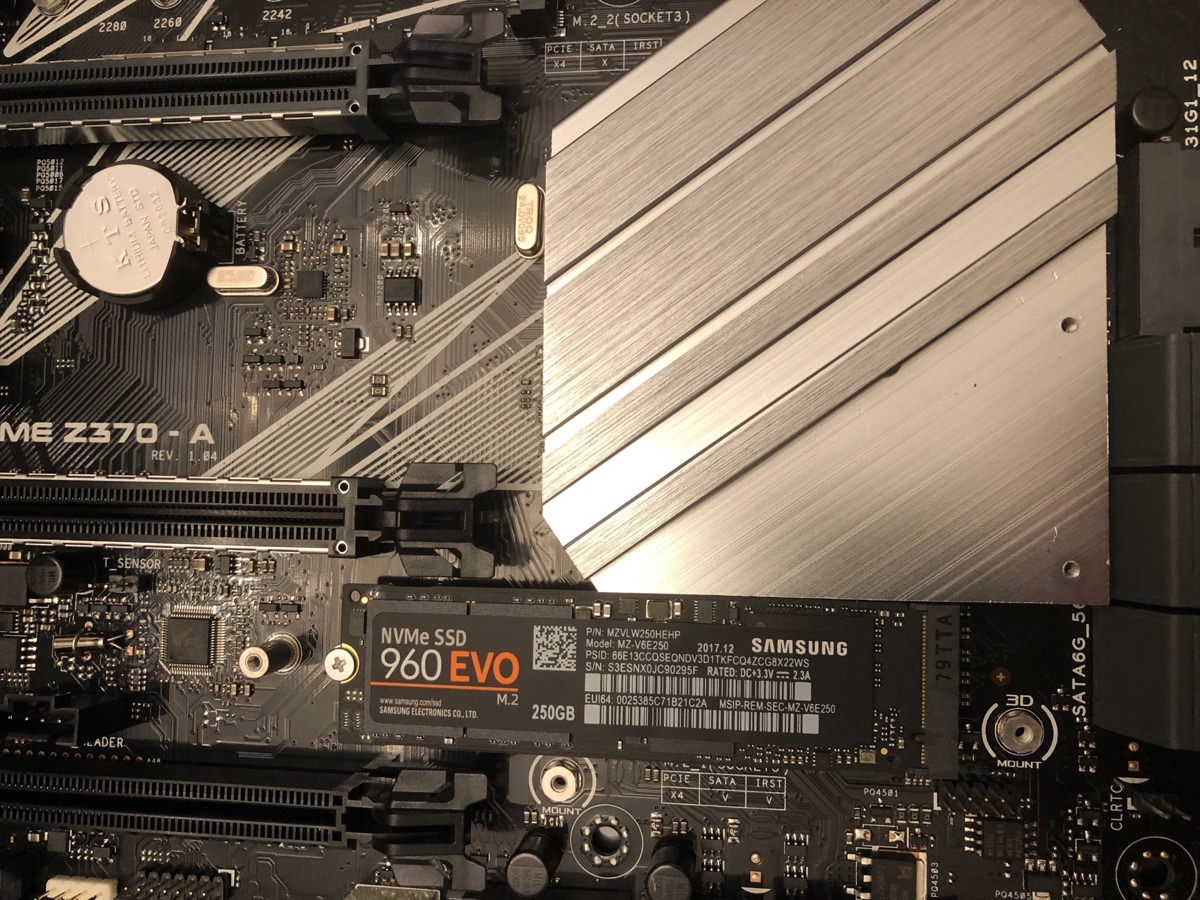
Once the CPU was installed, I installed the NVMe. I installed it in the slot underneath the heatsync (the other slot is exposed and visible):
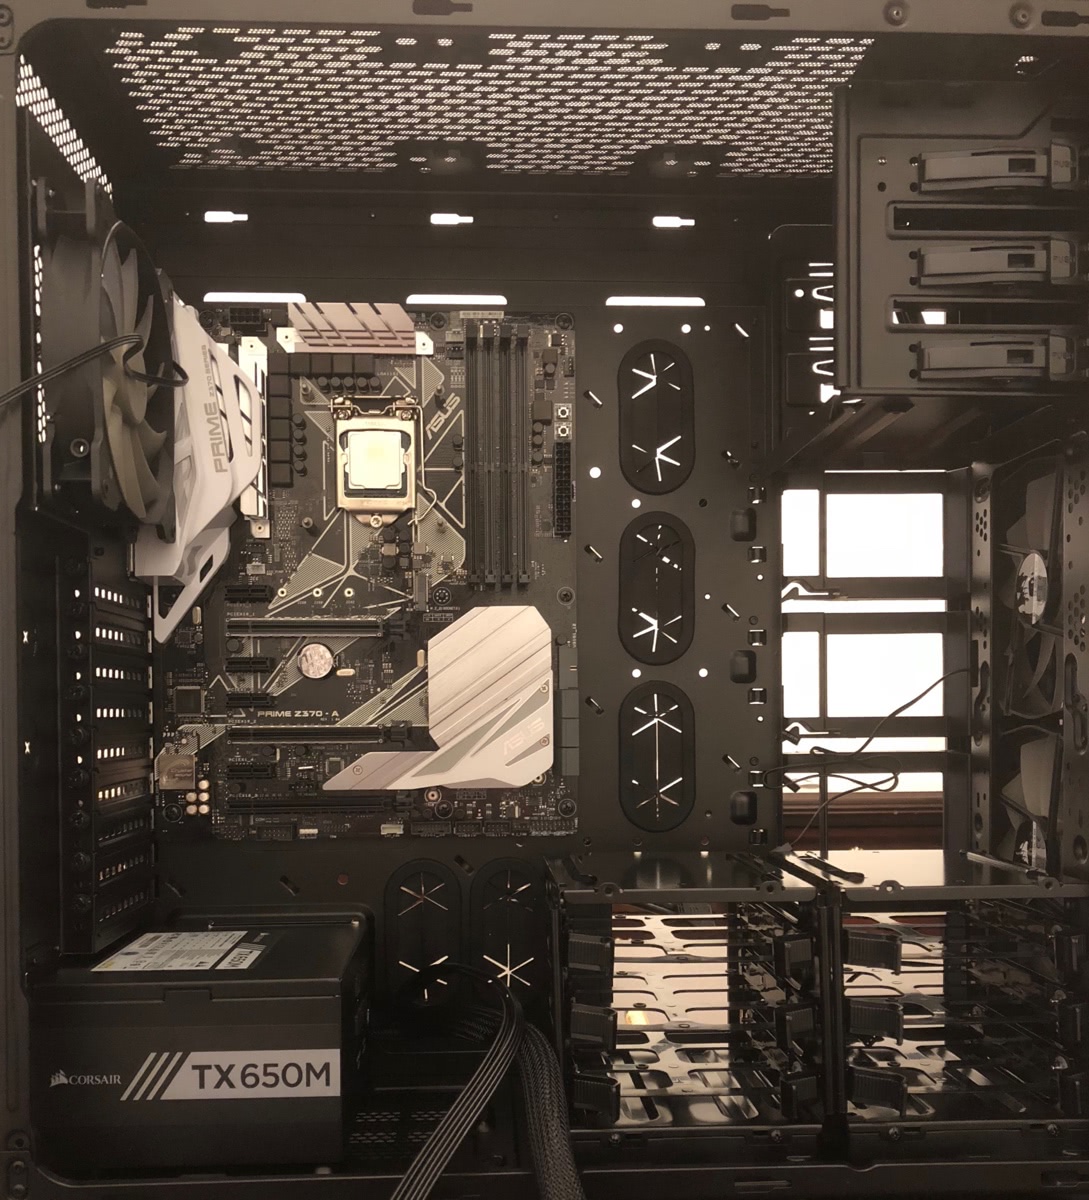
At this point the motherboard was populated and ready to be installed:

Motherboard installation required snapping the back plate into the case and lining the motherboard up with the screw holes on the case. Following the installation of the motherboard, I connected the audio, switches, lights, fans, and USB ports on the case to the headers on the motherboard.
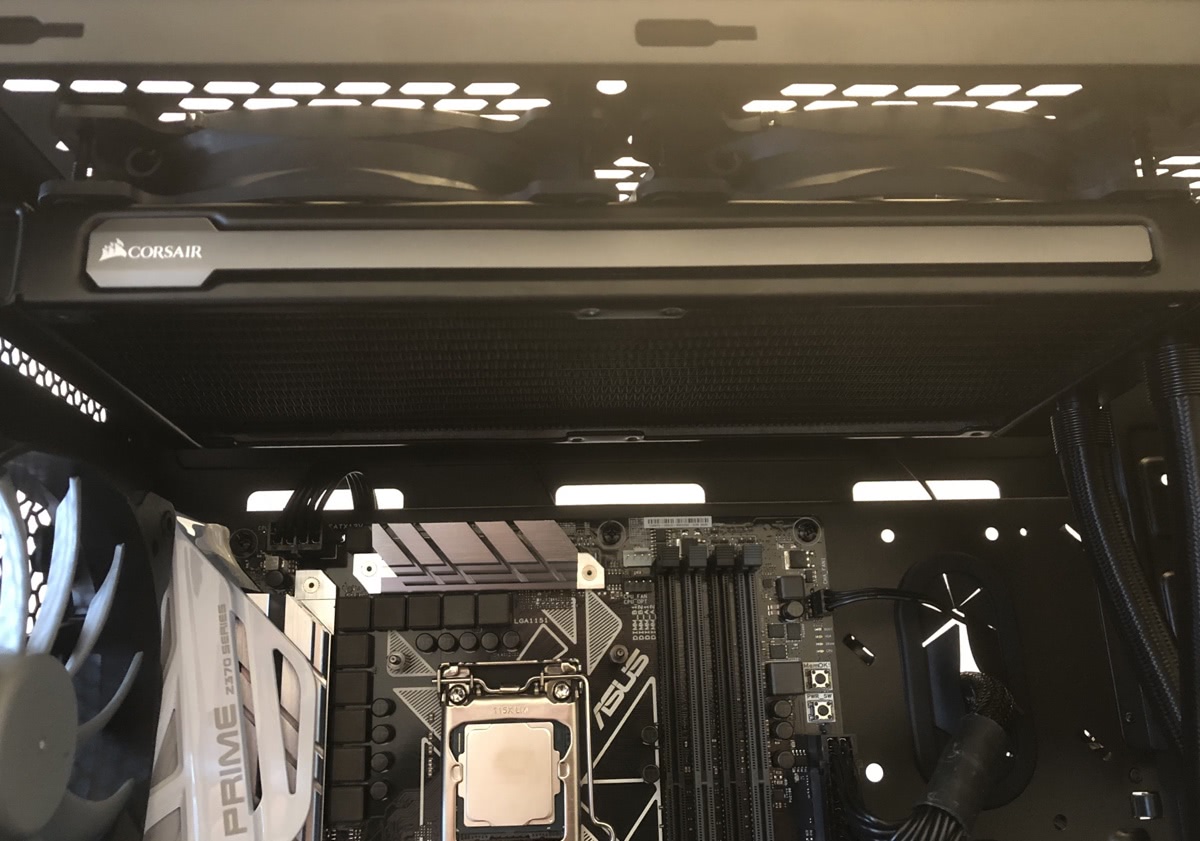
Once the motherboard was in place, the CPU cooler could be installed. I installed it as an exhaust in the top of the case. I wanted to keep the inside appearance as clean as possible, so rather than looking at fans, I wanted to mount the radiator under the fans. This was a bit tricky to line up and get the screws installed, but once done, I was very happy with the result:
After the radiator was installed the cooler could be installed on the CPU. This part wasn’t nearly as difficult as the radiator installation; I just needed to make sure to not make contact between the CPU and the bottom of the socket during installation until I was ready to tighten it down. I installed the back plate and standoff screws after mounting the motherboard–this could be done either before or after installing the motherboard. Once the backplate is installed, I attached the cooler to the installed standoff screws.

Last step was to install memory into the motherboard and tidy up the cabling. I also installed an Intel PCIe 4-port NIC.
Once complete, the machines were booted for the first time:
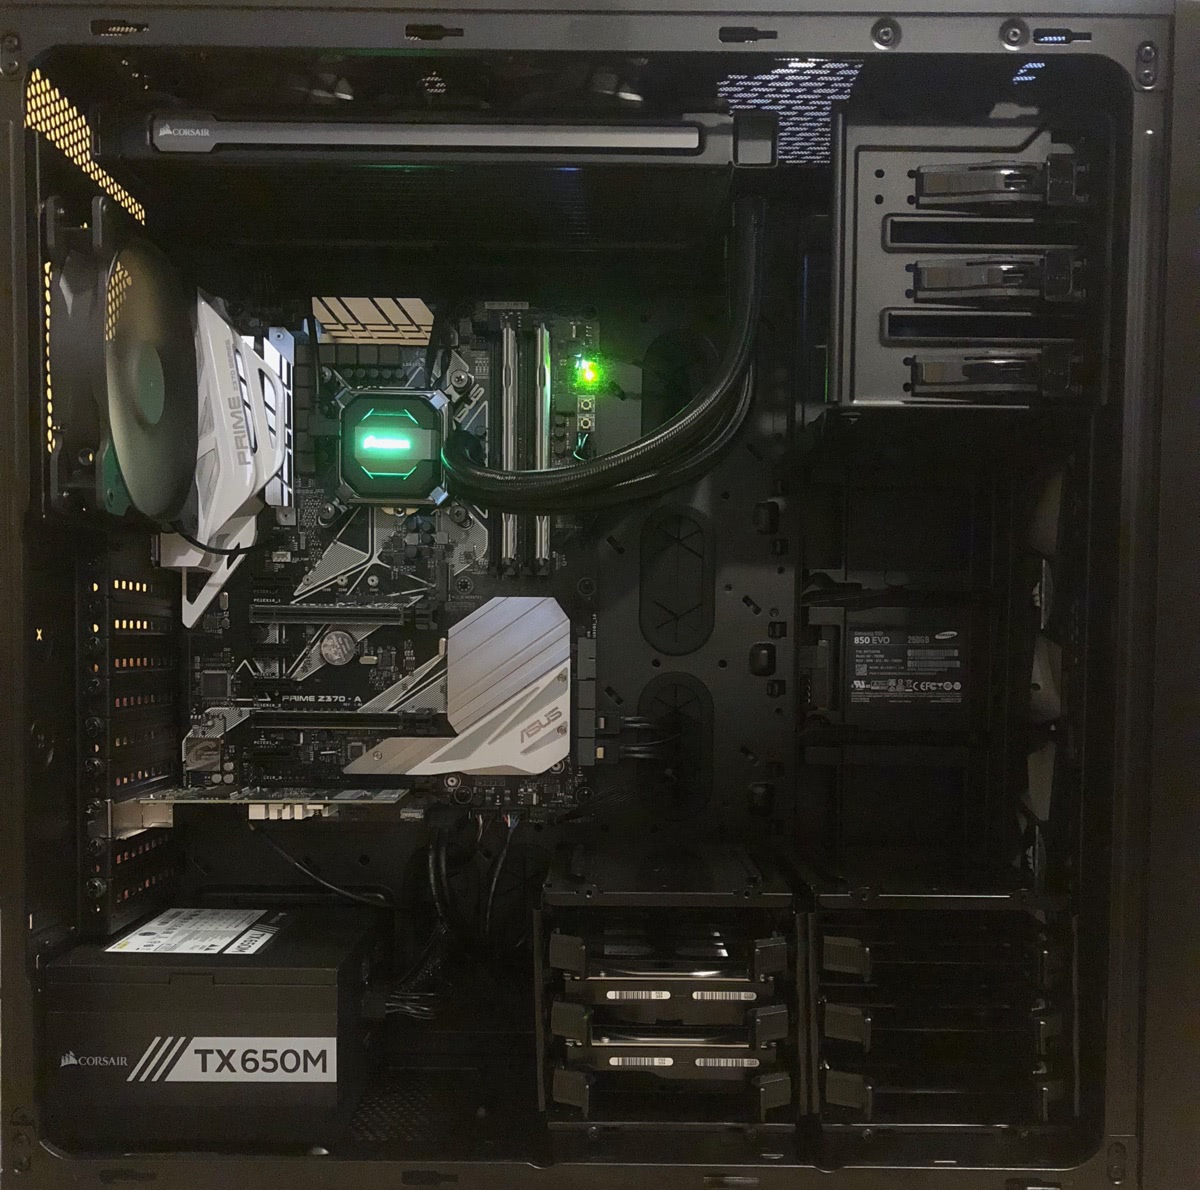
Everything is running great on the three nodes. The systems run almost silently and perform extremely well in all aspects.
Stay tuned for Part 3: Infrastructure that will cover the switching setup and base configurations for the systems.

Mike Newswanger
Sr Software Engineer at Elastic; previously SRE at Stack Overflow — go, performance, kubernetes, containers, databases